Step-by-Step Guide: Achieving a Bold Eyeshadow Look for Beginners
When I first started doing my own makeup in high school, eyeshadow was the most intimidating part. I’d constantly wonder, “How much is too much?” “How far should it go out on my eyelid?” and “Which eyeshadow palettes are actually worth it?” Over time, as I experimented more, picked up tips from friends and creators online, and learned through trial and error, I got the hang of it.
At the beginning of this year, I began working as a beauty advisor at Ulta, where I picked up even more techniques, and now, working in skincare, I’m learning all about the best prep methods for makeup application. With these steps and tips I’ve gathered, I feel more confident reaching for my favorite palettes—no more worrying that I’ll look like a clown by the end! So here’s my guide for achieving a bold, eye-catching look even if you’re just starting out.
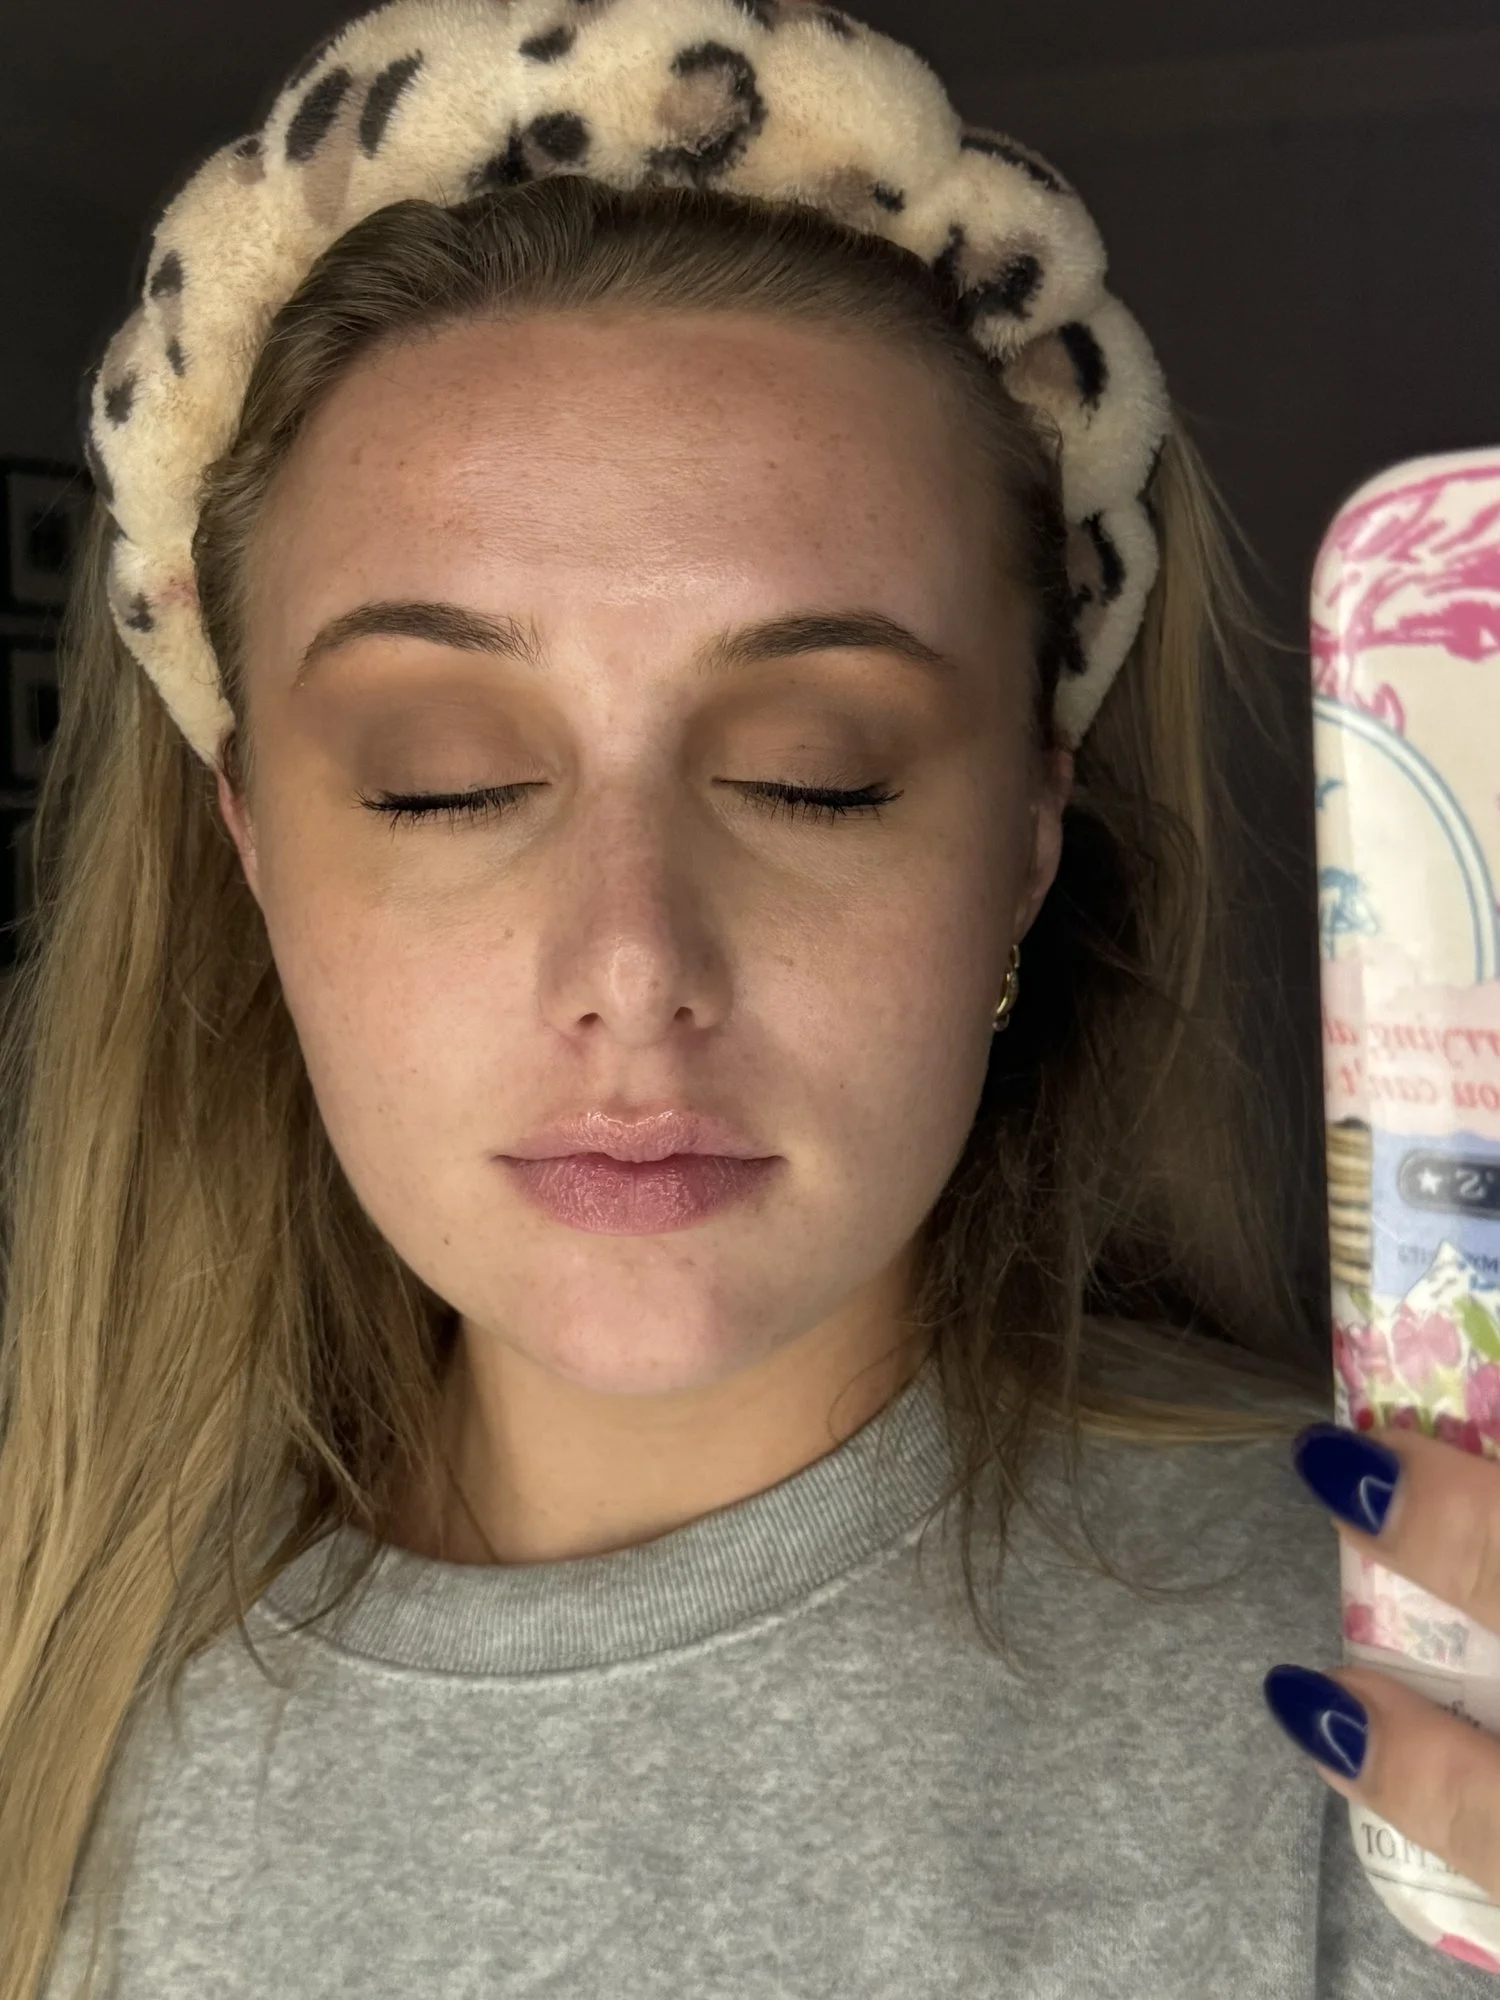
I used dark eyeshadow to make my eyes pop for this pic!
Tools and Eyeshadow Palettes for Your Bold Look
Here are my top picks for eyeshadow palettes and brushes that can help you achieve that perfect bold look:
Eyeshadow Palettes:
Tarte Palettes:
Tartelette In Bloom Clay Palette – A mix of matte and shimmer shades, perfect for both everyday looks and bold night outings.
Tarte Pro Amazonian Clay Palette – Features a wide range of rich, vibrant colors and excellent pigmentation.
Tartelet Juicy Eyeshadow Palette – This palette has juicy, bold colors that are perfect for creating playful looks.
Tarte High Tides & Good Vibes Eyeshadow Palette – Ocean-inspired shades with both neutrals and vibrant colors for a fun look.
Makeup by Mario:
Master Mattes Palette – Versatile matte shades that blend effortlessly for a seamless finish.
Click here to shop the Makeup by Mario Master Mattes Palette on LTK!
Eyeshadow Brushes:
Morphe Eyeshadow Brushes:
M433 – Ideal for blending larger areas.
M506 – Perfect for precise application and detailing.
Click here to check out my favorite Morphe brushes on LTK!
Step 1: Prep with Eye Cream for Smooth, Hydrated Skin
I highly recommend starting with an eye cream. My all-time favorite is the Irene Forte Skincare Olive Eye Cream—it’s packed with upcycled olive seed oil, which gives antioxidant benefits, and the other ingredients help with hydrating and tackling dark circles, fine lines, and puffiness. Hydrating your eye area makes a huge difference for makeup because it smooths out the skin and prevents eyeshadow from clinging to dry patches or looking flaky. You can also add an eyeshadow primer to make the look extra long-lasting. I don’t usually use one, but it can definitely help keep everything in place!
Pro Tip: If you have extra time, let the eye cream soak in for a few minutes before moving on to the next steps. This gives your skin a chance to fully absorb the hydration.
Another great tip I learned from a pro makeup artist online is to apply concealer and a light dusting of powder on the lids before eyeshadow. This creates an even base for colors to show up true to shade, and it’s super convenient to do while waiting for your face to “bake” with setting powder.
Step 2: Create a Base with a Neutral Shade
Starting with a neutral base shade helps add depth and makes blending easier later on. I go for a shade that’s close to my natural skin tone, and I like to apply it across my whole lid with a fluffy brush. This gives a great base to help any bolder colors blend more seamlessly.
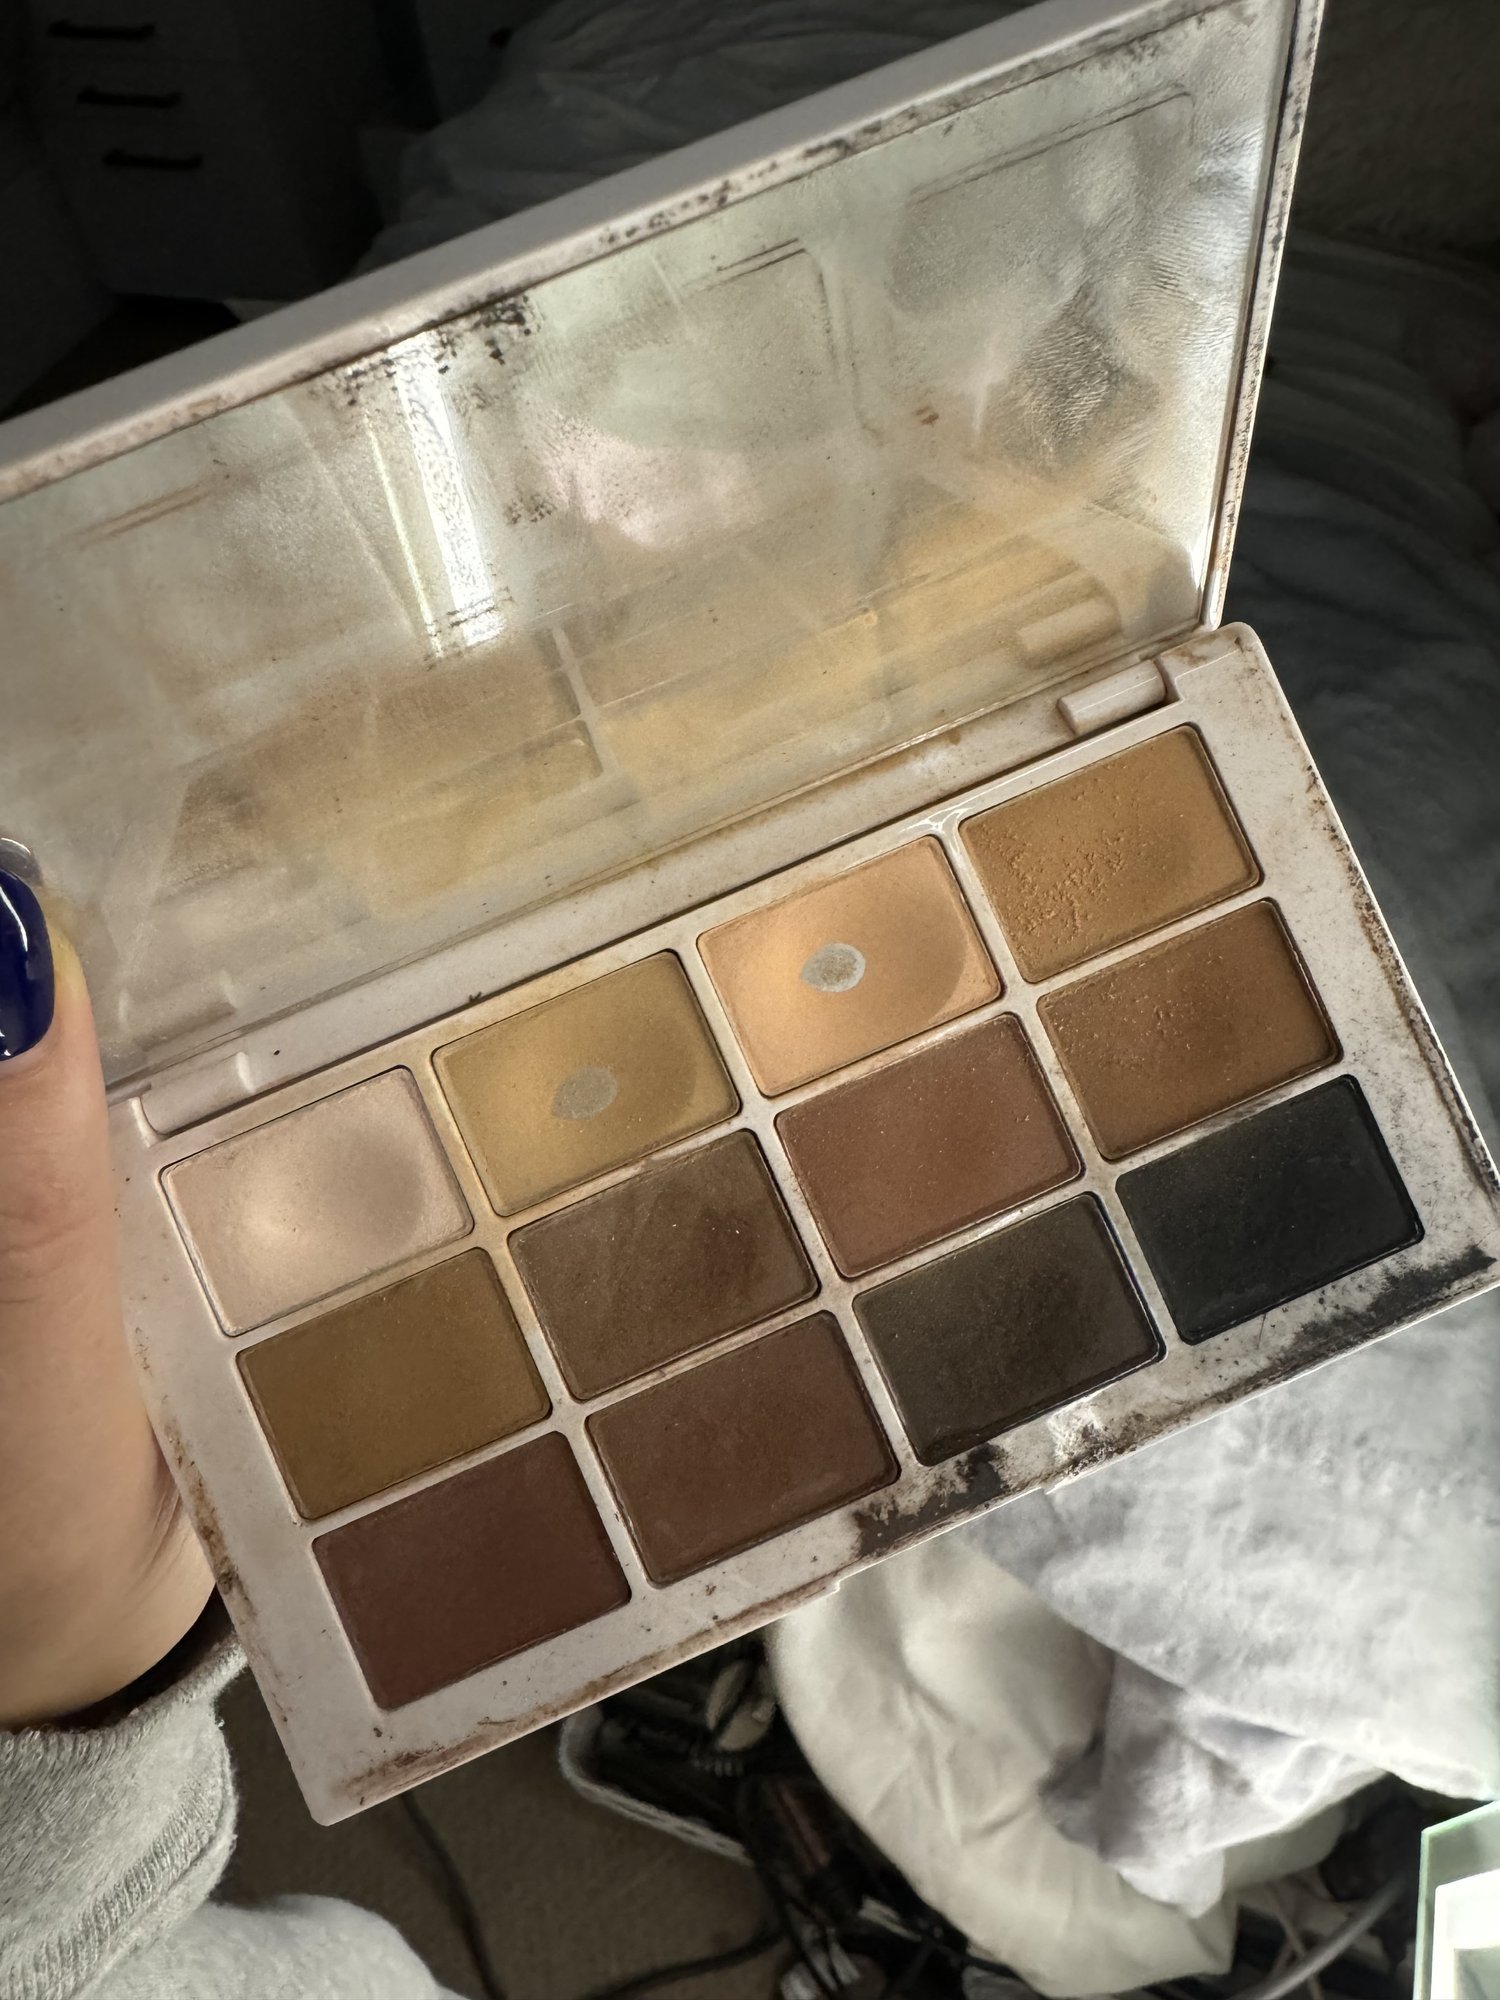
I use shade Matte 3 (the top third to the right) for my neutral base shade. (Sorry my palette looks messy I’ve been using it for the past few years lol!)
Step 3: Pick Your Bold Shade
Now for the fun part—choosing your bold color! I usually reach for dark browns, pinks, and purples because I feel like they really complement my blue eyes, giving them an extra pop. If you’re feeling adventurous, you could try a more vibrant color like blue or red for a standout look. Start by applying the color lightly in the middle of your lid with a flat eyeshadow brush, then build up slowly.
Pro Tip: Don’t be afraid to mix and match colors! Experimenting with different combinations can lead to some amazing looks.
Step 4: Blend to Soften the Edges
Blending is key for a bold but polished look. I like to start in the middle of my lid with my bold color and blend outward, creating a smooth gradient from the inner corner to the darker shade. This helps me keep the contrast between the light base shade and the bold color, adding dimension without harsh lines. In the video below I am blending color Matte 8 in the Master Mattes palette into my crease and outer corner!
Step 5: Add Depth with a Darker Shade
To make my eyes really pop, I add a slightly darker color, like a deeper brown or plum, to the outer edge of my lid. I bring my brush back and forth in that outer area until everything looks well-blended and balanced with the main bold color on my lid.
Pro Tip: Use a clean blending brush to soften any harsh edges. This can make a world of difference in how your eyeshadow looks.
Step 6: Highlight the Inner Corners
Adding a bit of shimmer to the inner corners really brings the whole look together. I go for a soft champagne or gold shimmer here—it brightens up my eyes and adds that “wow” factor to the whole look. It’s a small step, but it makes a big difference!
Step 7: Define with Liner and Mascara
If you struggle with liquid eyeliner like I do, I find that using an angled brush with a black or brown eyeshadow is a great alternative. I start by softly creating a wing at the outer corner and then bring it along my lash line. It’s less intimidating than liquid liner, but you still get that defined look. It does take practice, so find what feels easiest for you!
When I’m going for a bold look, I like to use mascara with more volume and depth— the Rare Beauty Mascara is my go-to for that extra bold finish. It’s dark and gives serious volume, but if you want even more drama, a set of fake lashes will do the trick.
Pro Tip: If you want your lashes to stand out even more, curl them before applying mascara. It opens up your eyes and adds a flirty touch to the look.
I’ve topped it off with the darkest of the colors, Matte 6, and blended it for awhile in my outer crease
At the end sometimes I will go in with a lighter color, like white, to my inner corners so you can really see that contrast. And that is all!
Step 8: Keep It Balanced
With bold eyeshadow, I prefer to keep my other makeup soft and neutral to let my eyes stand out. A light blush and nude lip are perfect for this—it’s all about finding a balance that works for you.
Bold eyeshadow doesn’t have to be intimidating; it just takes a little prep and a lot of blending. Once you get the hang of it, you’ll be reaching for those vibrant colors with confidence! So grab your favorite palette, follow these steps, and have fun experimenting. The best part? Every bold look is a chance to learn and improve!
This blog contains affiliate links, which means I may earn a small commission if you make a purchase through these links at no additional cost to you. Your support helps me keep this blog running and allows me to continue sharing content. Thank you for your support!


